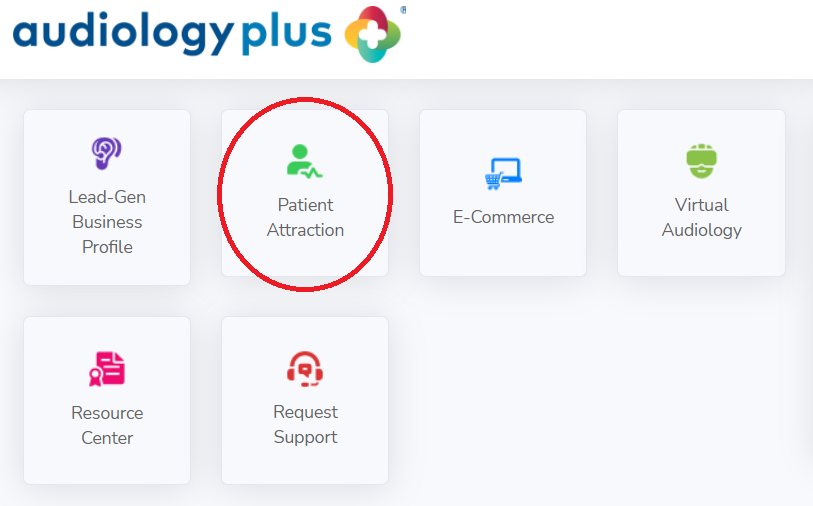
1. Select the “Patient Attraction” button.
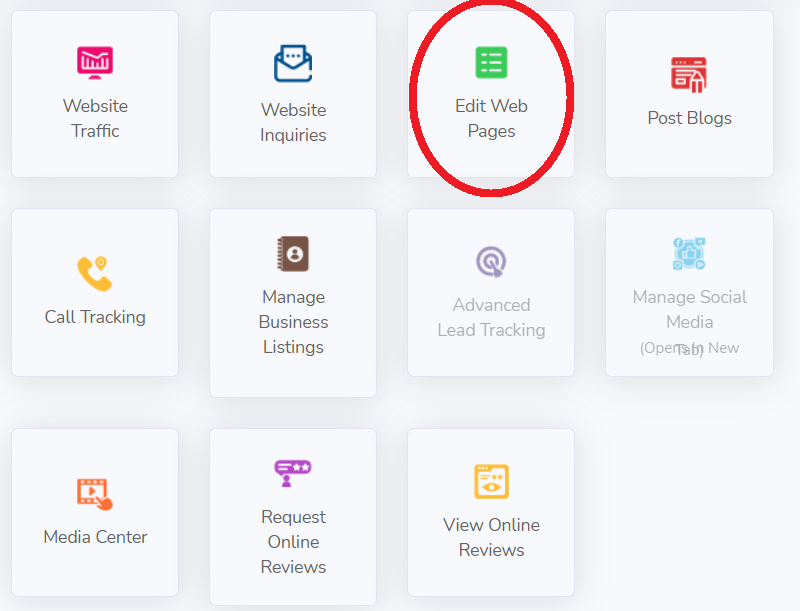
2. Then, you will select the “Edit Web Pages” button.
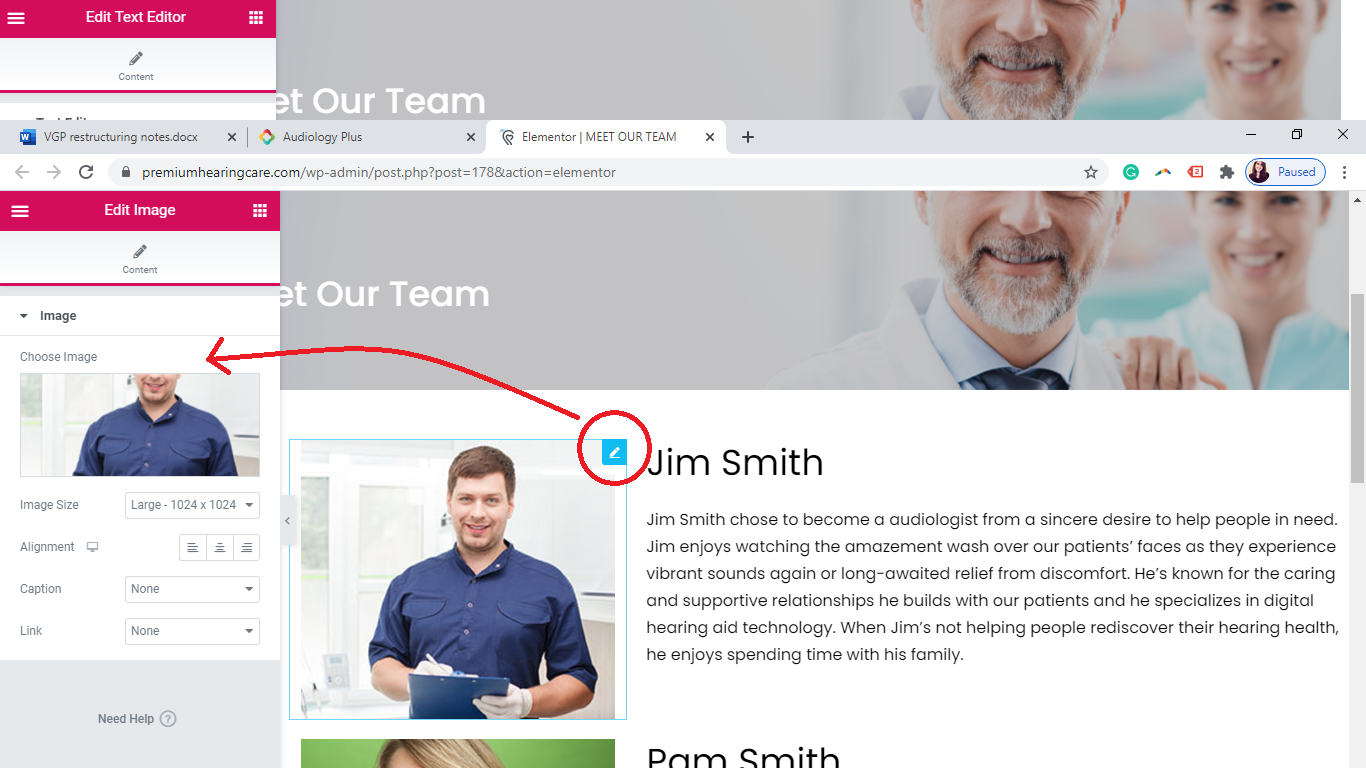
3. You will arrive at a list that shows you each of your website’s pages. You will select the “Edit Page” option on the right (here, we are using the “Meet Our Team” page as an example).

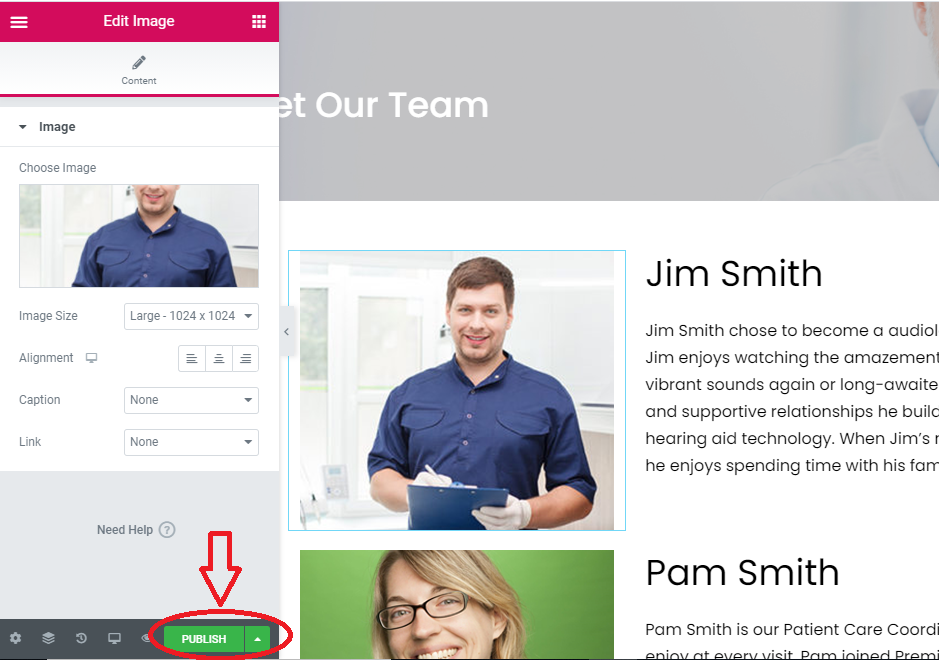
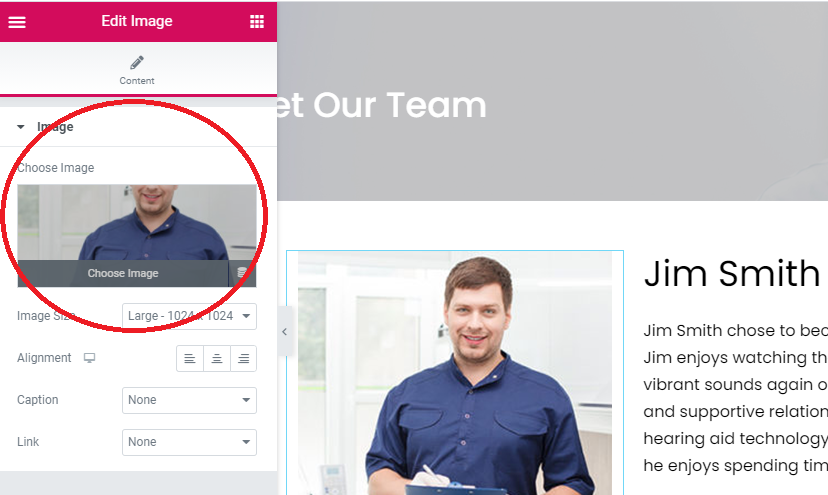
4. You can select the image you want to change and it will appear in the toolbar on the left hand side:
5. You can then go to the “Choose image” button to select which image you want to add.
6. Then, you will be taken to the “Insert Media” page that will allow you to select the image you want to use. You can select the blue “Insert Media” button once you select the image you want to use.
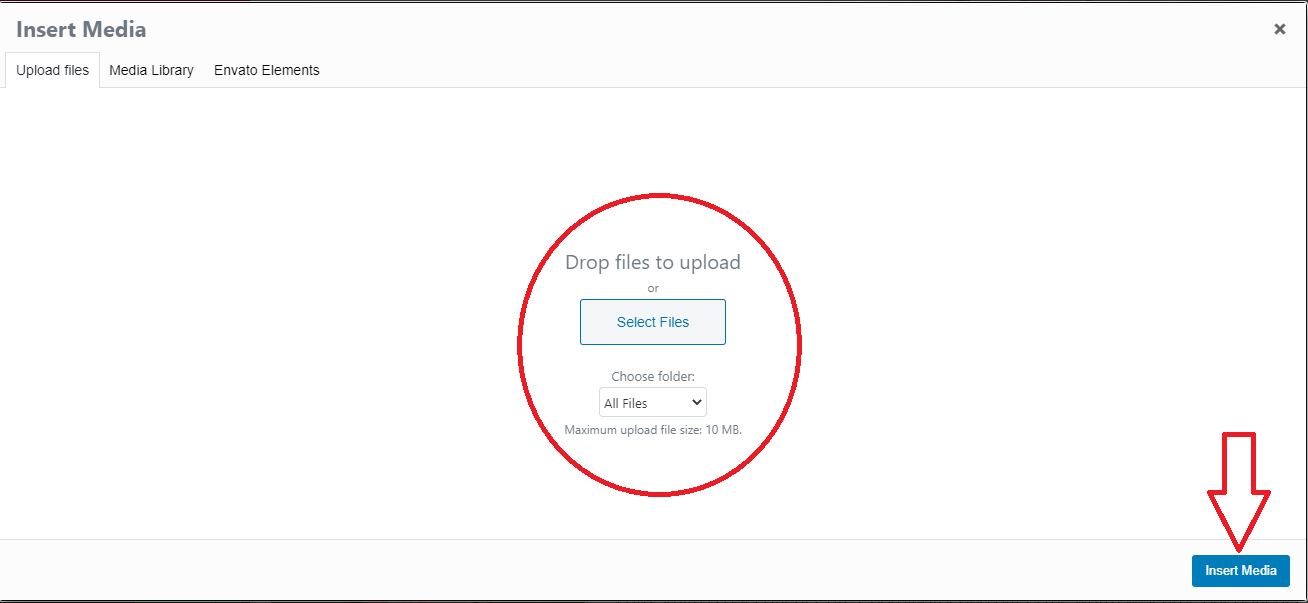
7. Then, you will be taken to the “Insert Media” page that will allow you to select the image you want to use. You can either select the “Upload files” tab, where you can select an image from your computer, or you can select the “Media Library” tab where you can select an image from images you uploaded previously.
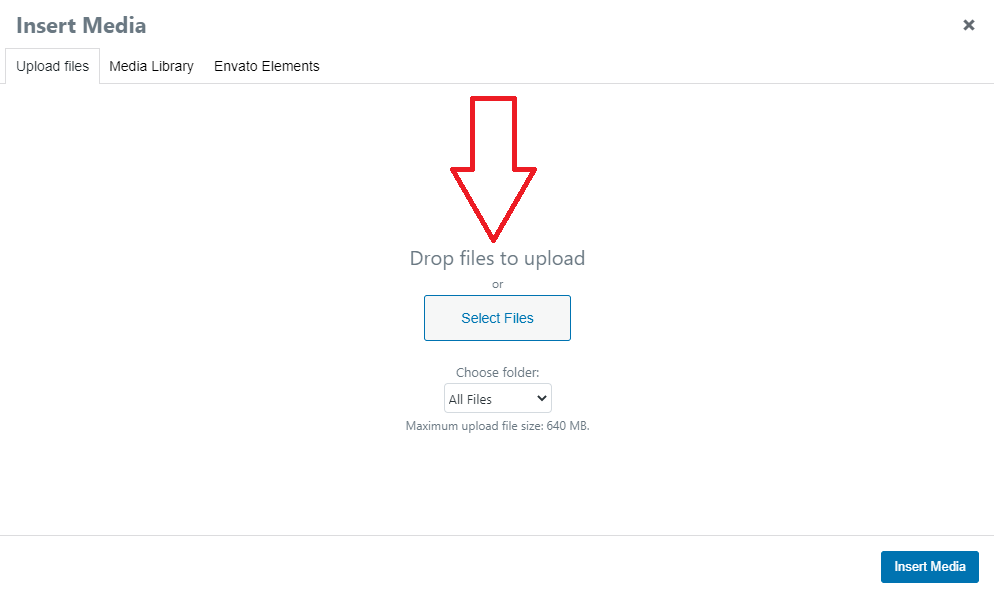
To upload an image, you will select the Upload files tab:

You will then click the “Select Files” button to open the options from your computer.
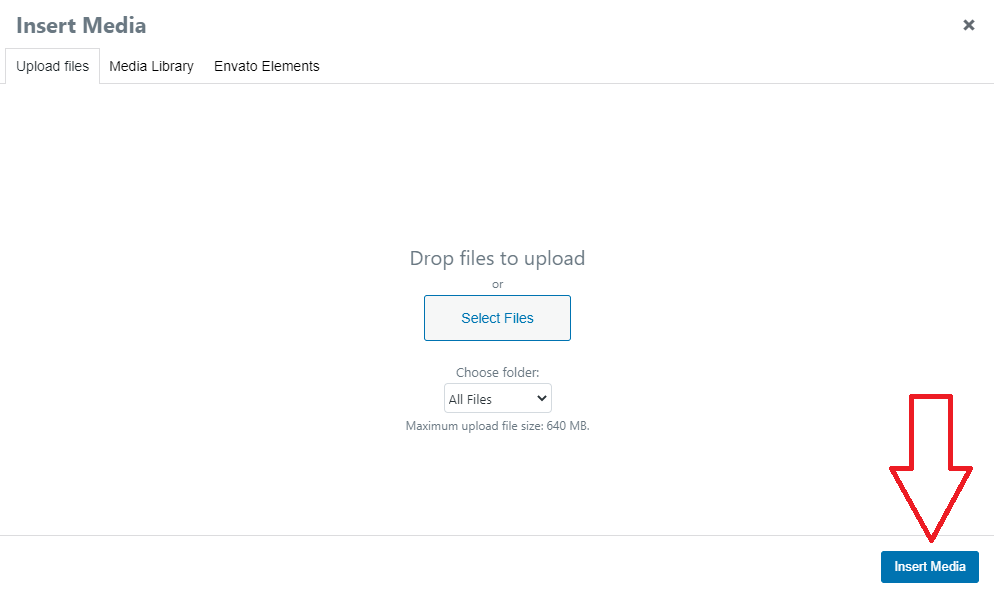
Once you make your image selection, and upload it to your media library, you can click the blue “Insert Media” button once you select the image you want to use.
If you want to select an image from your media library, please select the “Media Library” tab and your images will appear.
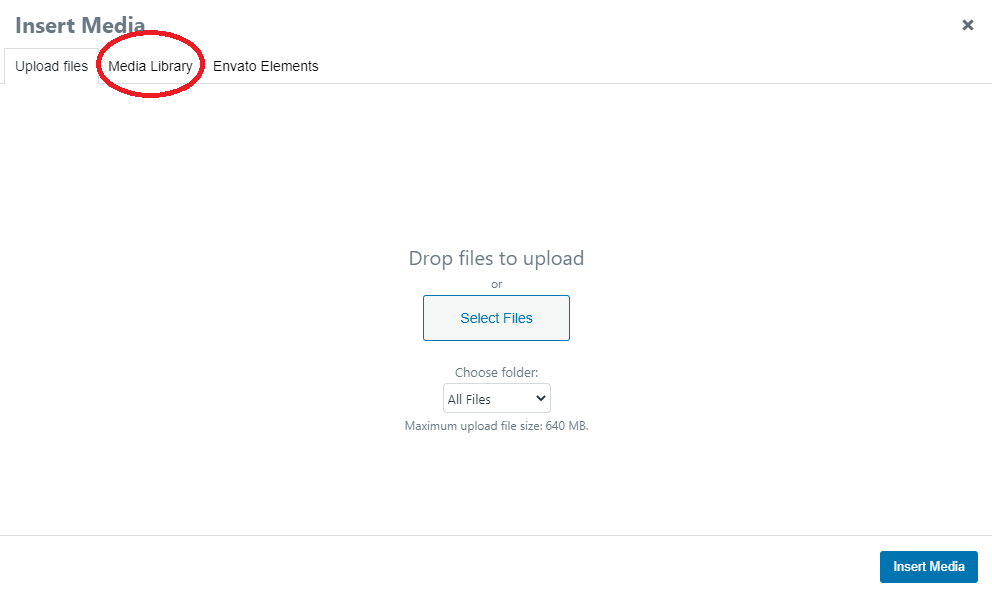
You will select the image you want and select the “Insert Media” button to add the image.

8. Once you see your image on the page, you will click the green “Publish” button to save your changes.